Follow along as we make and grow crystal snowflakes! This project requires help from a parent or adult.
Step 1
Gather supplies. You will need:
Pipe cleaners
Borax
Boiling water
Tablespoon
String or thread
A pencil
Scissors
Tape – masking or packing
A glass jar that is heat resistant
Supplies you may also want but do not need:
Felt
Food coloring
Step 2
Create a snowflake from your pipe cleaners!
How do we start? First, let’s make sure that whatever we make, it will easily fit into our jar and not touch the sides.
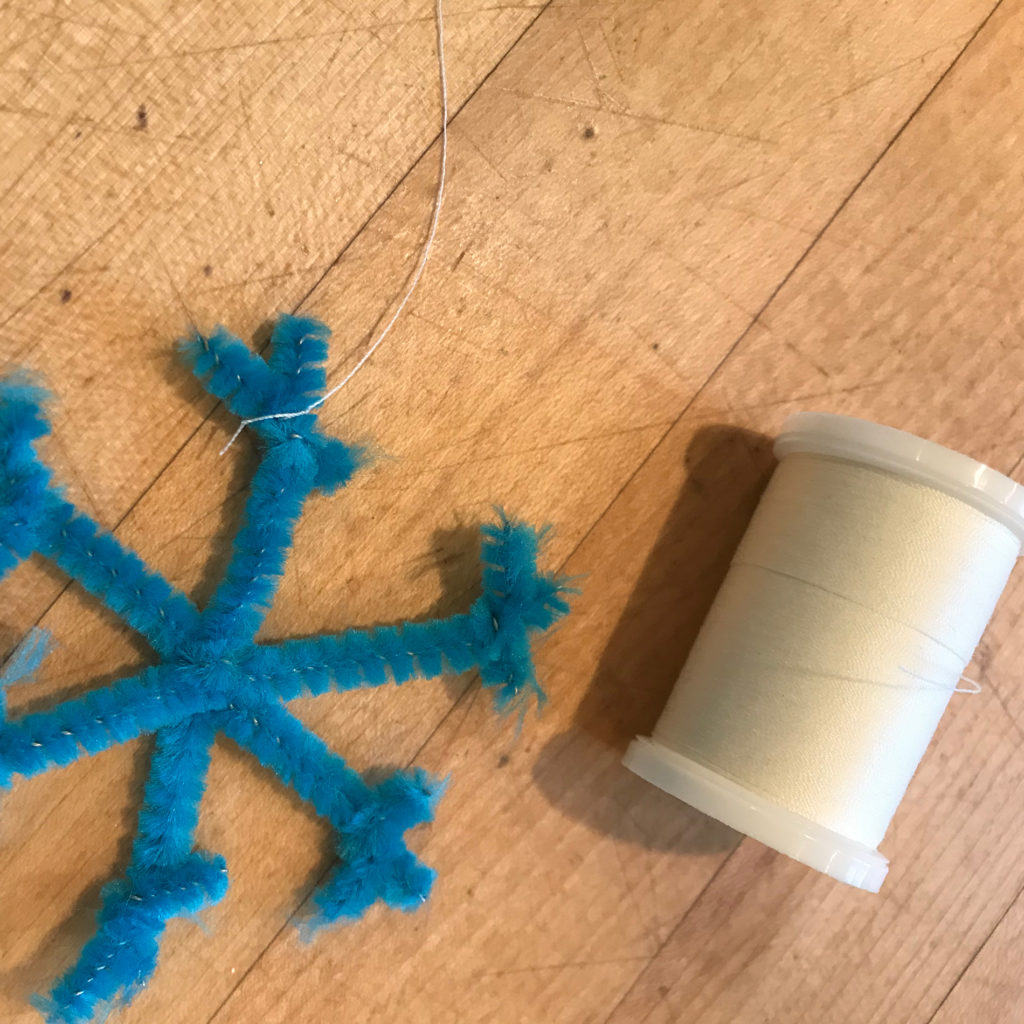
How many sides are on a snowflake? If you said six, you’re right! We started our snowflake by cutting three equal length pieces of pipe cleaner. These will make up the biggest part of our snowflake and together, these will make our six sides. We also cut six smaller pieces of pipe cleaner to be decorative points on each of our six sides.
To start the largest part of our snowflake, we took two of the long pieces of pipe cleaner and twisted them together at their middle points. We then added the third long piece and also twisted it at its middle point.
Next we took our small pieces and twisted them to the end of each side.
Looks amazing! Next, we tied a piece of string to one of the sides. This will help us to hand our snowflake up and allow it to grow crystals.
STEP 3
Now we need help from an adult. We need to make a saturated solution of our Borax and water. We are going to use a ratio of 1 cup of boiling water to 3-4 tablespoons of Borax.
Boil your water and measure and pour it into your jar. Then measure and mix in your tablespoons of Borax. The number of tablespoons will depend on how many cups of water you poured into your jar. Next, stir! It is ok, and prefered, if some of your Borax does not dissolve.
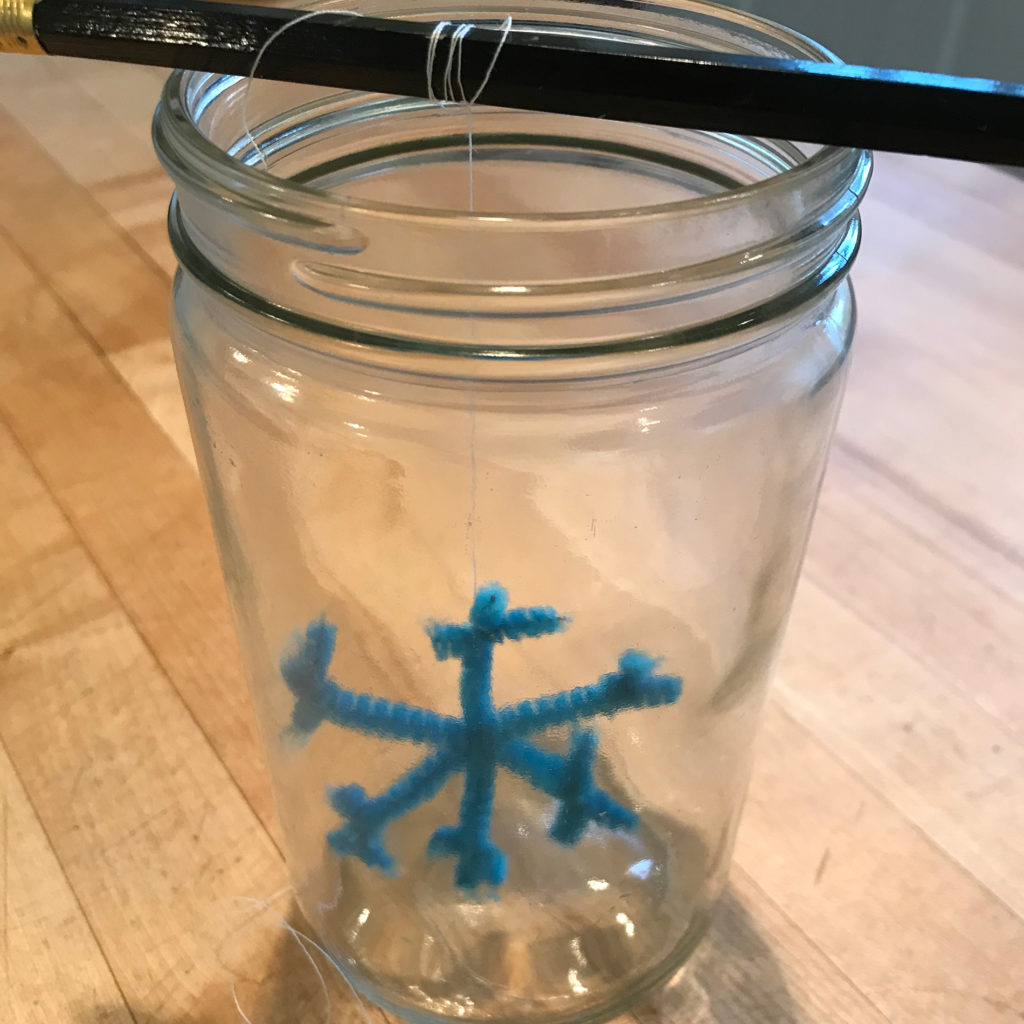
Next, take the string that you tied to your snowflake and wrap it around your pencil. You want your snowflake to hang in the water but not touch the bottom of the jar. You may need to use a small piece of tape on top of your string to keep it from unraveling.
Step 4
Now we wait! You will want to let your jar sit overnight. You should start to see crystals grow in 4-5 hours but it might take longer.
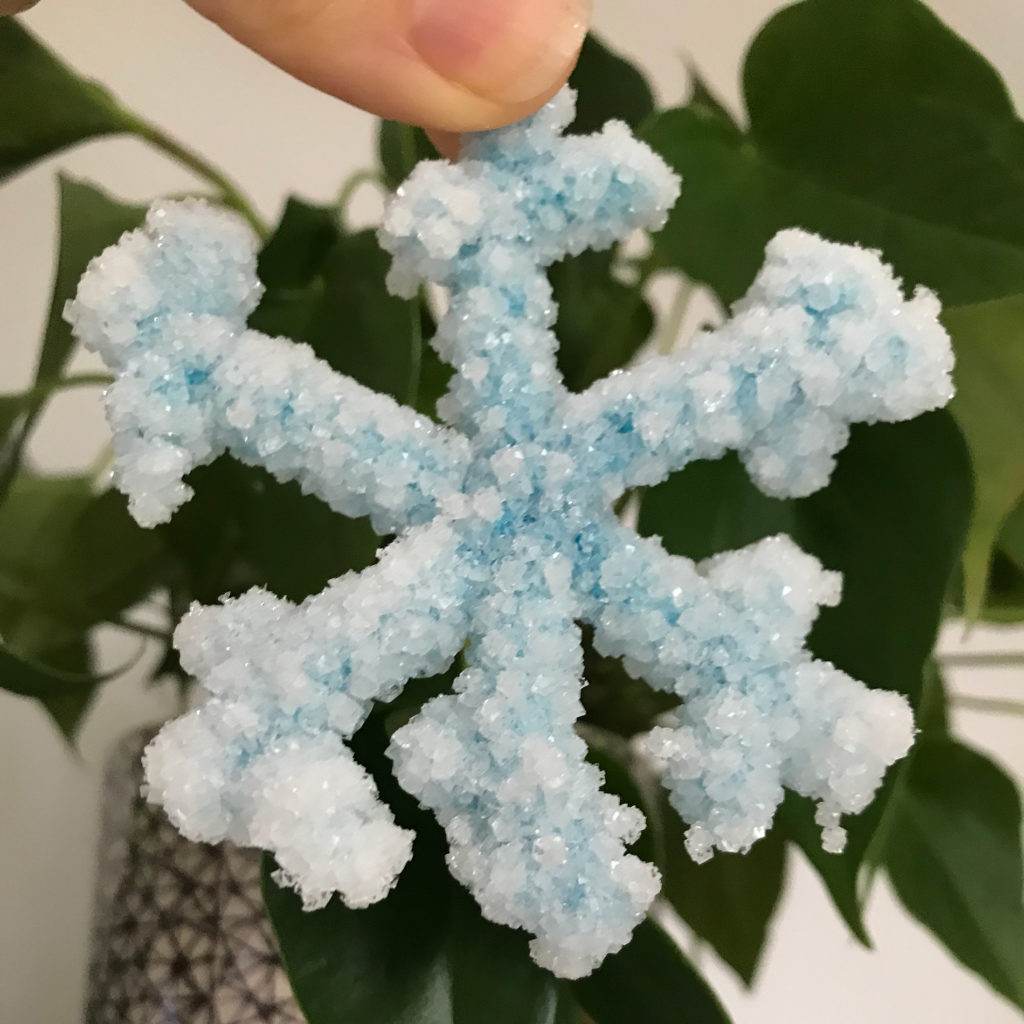
Once they have reached the size you want, carefully take out your snowflake and place it on some paper towels. You may need to replace them a few times as they become wet. Allow your snowflake 24 hours to dry. Now you have a beautiful crystal snowflake!
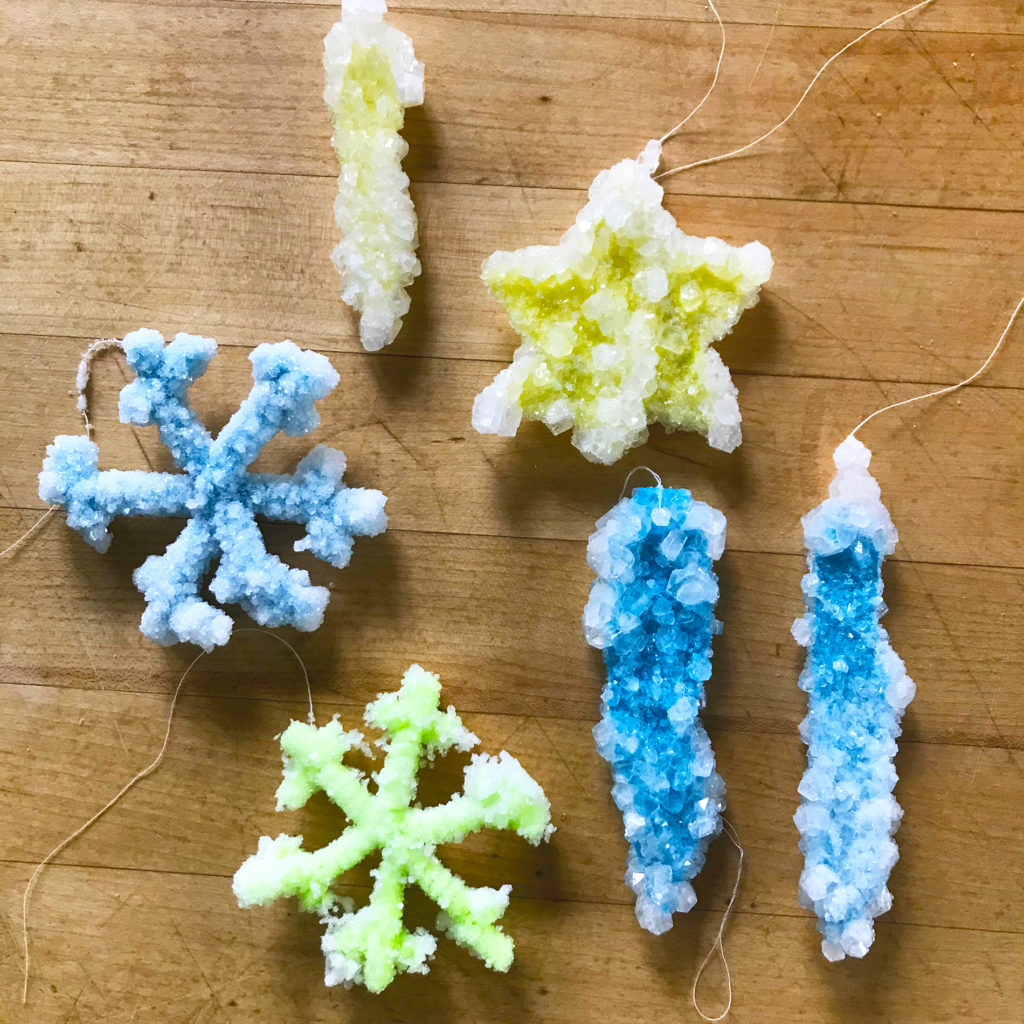
You can try other materials other than pipe cleaners in your solution. We used some cut felt we had in the studio and made some icicle shapes. You could try other material, twigs, pinecones, or anything that can absorb water but not be too fragile. You can also add food coloring to your water to change the color of your crystals. There are so many possibilities!
finished
What did you make? Share your creations at ce@pcad.edu or tag us on Instagram @pcad_ce