Follow along as we create beautiful custom gift wrap! This project requires help from a parent or adult.
supplies
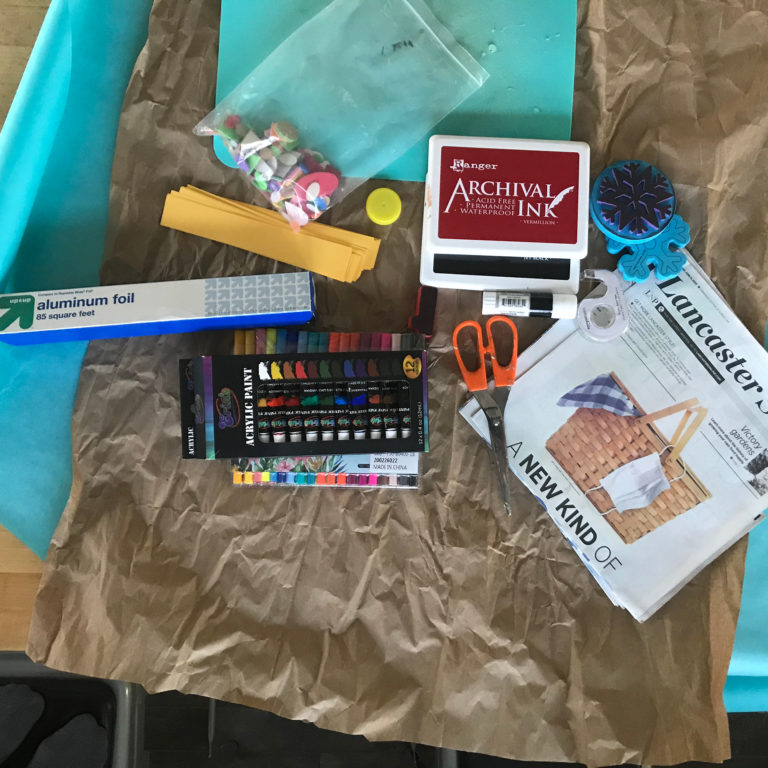
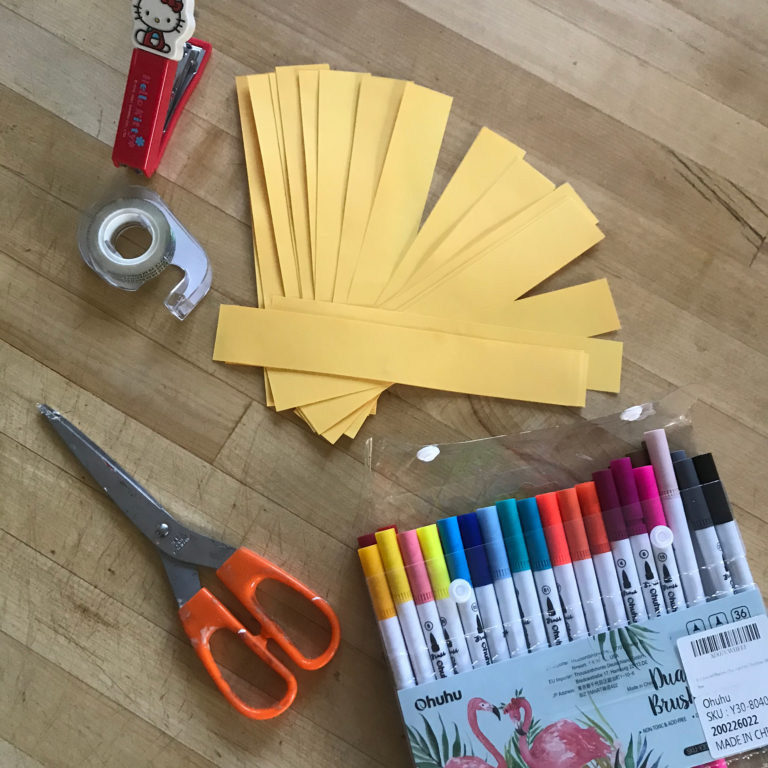
Gather supplies. You will need:
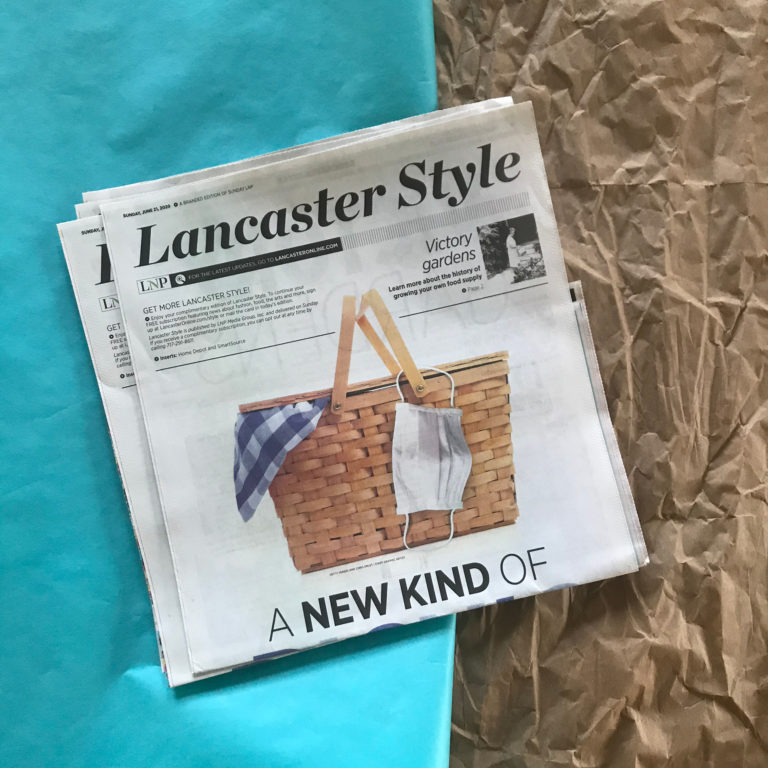
Paper. This could be newspaper, packing paper, or roll paper.
Paint or stamp pads or both
Stamps or found objects you can print with (you will get paint on these items so make sure you are ok with the idea that the paint might not come off) Examples: Legos, blocks, forks, pencil erasers, leaves, etc.
Scissors
Tape
Glue stick or Elmer’s glue
Supplies you may also want but do not need:
Double-sided tape
Stapler
Markers
Let’s start by exploring how to make custom wrapping paper. You will want to gather paper that is lighter in weight and preferably large. You can piece together smaller pieces of paper with a glue stick or with Elmer’s glue.
You will also need paint or a stamp pad (or both) and items that you want to use for printing.
Here we have brown packing paper that came in a box that was delivered, newspaper, and some blue roll paper. We’re going to make wrapping paper out of all three!
Here are some items we gathered to use for printing. We have some snowflake stamps, plastic forks, wooden numbers, a pipe cleaner, and some adhesive foam shapes we are going to stick to an old cap from a bottle.
creating the wrapping paper
For printing, we are going to use some stamp pads and some acrylic paint. First, we are going to cover an old board with foil and squeeze our paint onto that surface. This will help us to spread out the paint to dip our objects into and we can throw away the foil when we are done.
We need to make our newspaper a little larger. To do this, we glued together the edges of two pieces with our glue stick.
gift wrap design 1
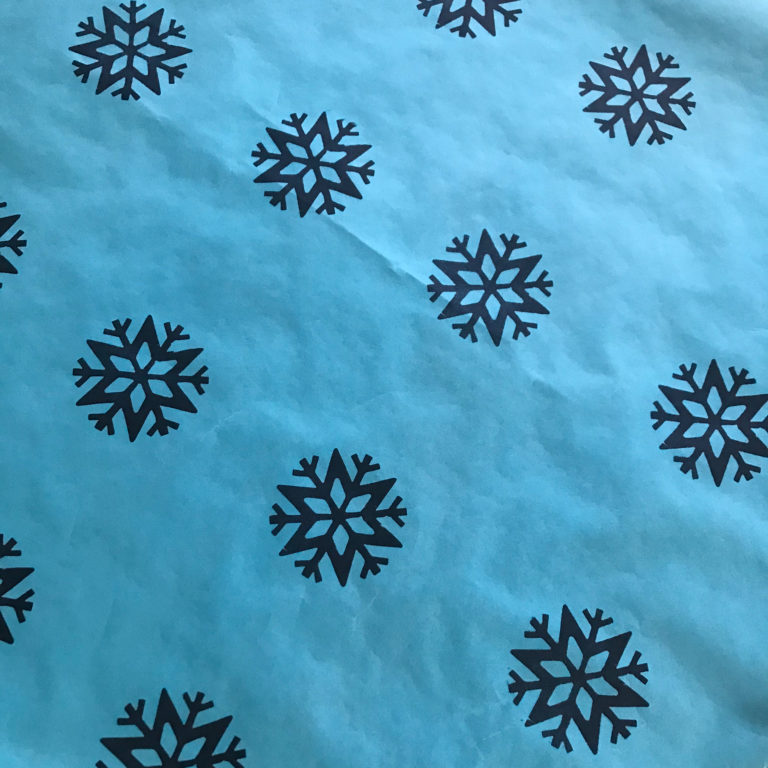
Let’s print! First we are going to use our snowflake stamp and stamp pad on our blue roll paper. We thought about how far apart we wanted each snowflake and started to print.
Next, we dipped the teeth of a plastic fork in red paint and made some fun designs between each of our snowflakes.
GIFT WRAP DESIGN 2
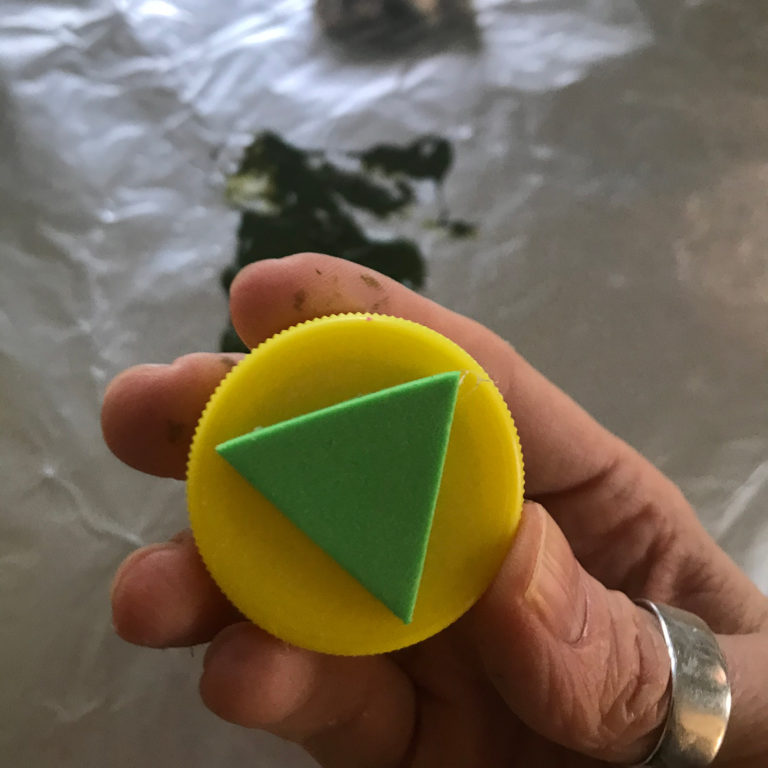
Now let’s try making a stamp. This time we are taking one of our foam shapes and attaching it to the end of an old cap. We want to use this shape to print on our brown packing paper.
Next, we will dab it into some green paint. Time to print!
GIFT WRAP DESIGN 3
Now, let’s use a found object like the wooden block shaped like a number one that we discovered. This time we want to print on our newspaper.
We like it, but let’s add more! We decided to wait until all of the paint was dry and then we stamped snowflakes over our green number ones with our red ink stamp pad. It’s perfect!
now let's make a bow
Wow! We are really happy with our three different wrapping paper designs, but how about a bow? Here is an easy way to make a fun paper bow! Just grab some scrap paper of just about any kind! Cut it into strips that are 1 – 2 inches wide and as long as you want them to be. You should also make sure you have some glue or tape. If want to draw on your paper, bring along some markers!
step 1
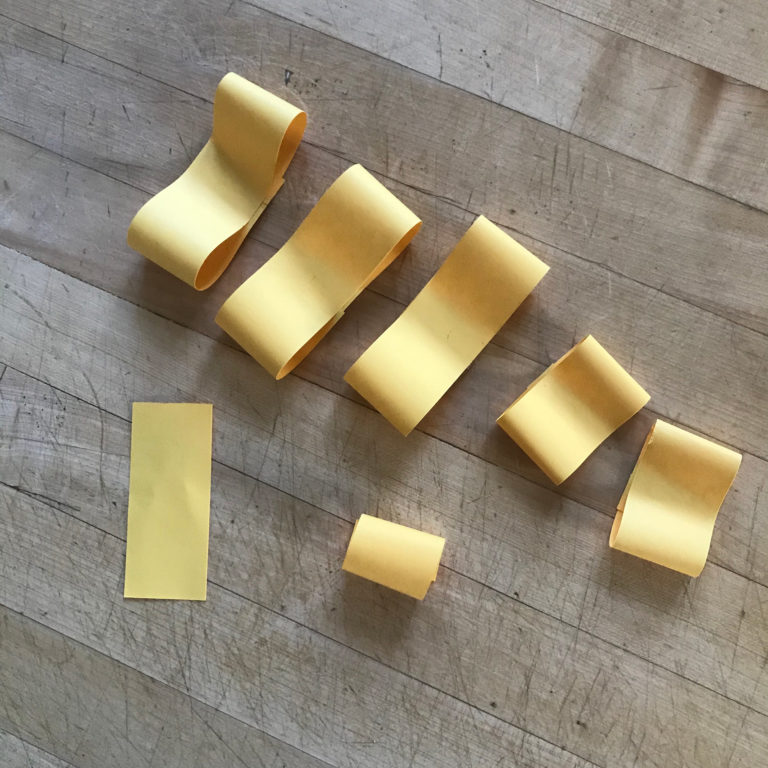
To begin a bow, grab five strips of your paper and make sure they are all the same length. Set aside three strips. Take the other two strips and trim 1/3 off of them. This should give you seven pieces of paper. Three long pieces, two medium pieces, and two short pieces.
Set one of the short pieces aside. Take the remaining pieces and glue or tape the ends together to turn them into rings.
step 2
Take the tiniest ring and set it aside. Take the remaining rings and glue or tape their middles down so they look like a number eight from the side.
STEP 3
Next we will stack them! Start with the large pieces and start to glue or tape their middles together, stacking them on top of one another. Save the tiny ring for last! You can take the tiny strip and cut it into two pieces. Snip a triangle out of the bottom of each one and glue it to the bottom of your bow!
When you’re done, add them to our gifts!
Finished
How did yours turn out? Share your creations at ce@pcad.edu or tag us on Instagram @pcad_ce