.

Google Classroom Tutorial

Learn How To Build a Course From Scratch

In this tutorial you will learn to build a classroom and add students. The button below will provide a downloadable PDF guide for your reference. The following videos will walk you through each step in the process in addition to the description above each step.

Step 1: Create the Classroom

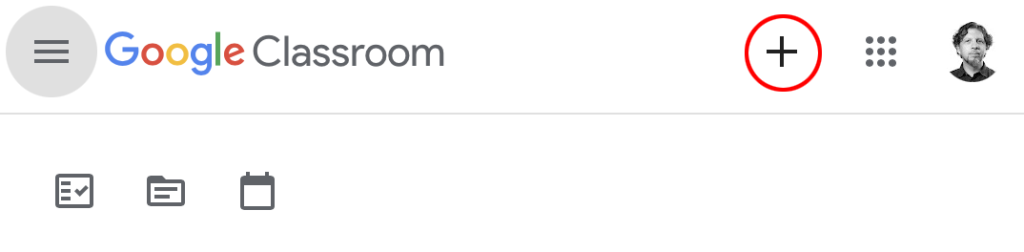
Choose Google Classroom in the 9 dot menu on the upper right when signed in to Google. Once in the classroom window, choose the plus sign in the upper right and choose “create class”. Make sure to give the class a name, section, subject and room if applicable. This will take a few seconds to generate. In Google drive you will get a unique drive folder for this class and a Google calendar that you can use to schedule Google Meets and supply deadlines.

Step 2: Customize the Stream

When the class is generated, you can select from stock graphics or upload your own graphic to the hero block along with creating a color profile for content. On the left, generate a Google Meet Link that is visible to students.

Step 3: Create Classroom Content – Topic

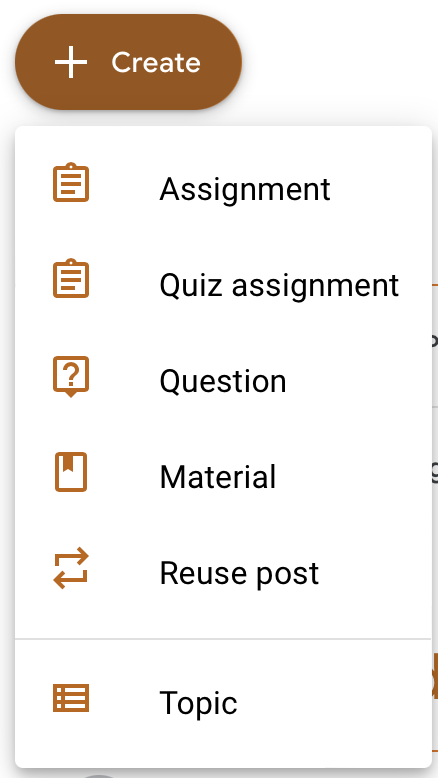
There are basically 5 kinds of content that you can create that expands into features once created. These choices are topic, assignment, quiz assignment, question and material. In addition, reuse post allows duplication of an element. Topics act as containers that you can put the other elements in. This structure can be based on subject, calendar, order or anything else that you might want to use as your system. I find that filling a topic with the work for a certain week of the semester in order is best for students.

Step 4: Classroom Content for within a Topic Container – Material

Material is a great place to provide an outline of what you’re going to teach and attach resources that the student can access. These resources can be things that you generated like slide shows, documents, examples or videos. They can also be external resources like youtube videos, linkedIn lessons, articles, websites, etc. I typically provide an outline of content, all slideshows that I am using during class and other resources so that the student can go back after class and review what was covered.

Step 5: Classroom Content for within a Topic Container – Assignments and Questions

Questions are a way that you can ask a question of a class to start a conversation or to poll your group for their knowledge. This is a good interactive tool and can be short answer or multiple choice.

Assignments are tools that let you assign a task and collect it through a submission portal. Always generate a rubric for your students so that they can see how you are grading their work and use it to keep your grading consistent. A detailed rubric is a great tool to communicate expectations and justify grading results.

Quiz Assignments generate a Google form that you can distribute through the assignment module. You will need to open the form and create the questions and answer key along with point values.

Step 6: Grades

Every time that you generate a module a column will appear in grades. If an assignment has a grade value, then it will show the possible points at the top of the column. Your rubric should have criteria that will allow you to break down the grade and itemize checkpoints. When you click on each submission, you will be able to fill in the rubric and the grade will appear in the column as a draft. Choose the “Return” feature to set the grade and alert the student. Comments are also a good way to start a conversation and coach a student.

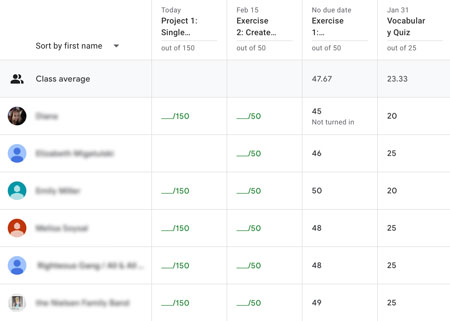
NOTE: Be sure to keep all grades up to date and return grades to students.

Step 7: Invite Students

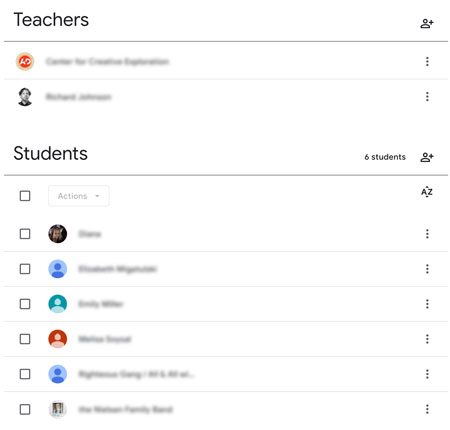
I always wait to invite students to a class until after the class has been created. However, if you are building your class while you are teaching it, this can be done right after classroom generation. Just add the emails under the people tab and wait for them to accept the class.
Students will need to have a gmail account.